Cuckoo clocks blend traditional craftsmanship with intricate mechanical art‚ making repair a meticulous process. Cuckoo clock repair manuals provide essential guidance for understanding and restoring these timepieces effectively.

1.1 Understanding the Basics of Cuckoo Clock Mechanics
Cuckoo clocks operate through a weight-driven gear system‚ typically with 1-day or 8-day movements. The mechanical structure includes mainsprings‚ gears‚ and a bellows mechanism to produce the cuckoo sound. These clocks feature intricate carvings and traditional designs‚ often originating from the Black Forest. The internal components work in harmony to strike hours and animate the cuckoo bird. Grasping these fundamentals is essential for effective repair and maintenance‚ ensuring the clock’s mechanical and aesthetic integrity are preserved; Proper understanding of these mechanisms is crucial for handling repairs successfully.
1.2 Importance of Proper Repair and Maintenance
Proper repair and maintenance are vital to preserve the functionality and longevity of cuckoo clocks. Regular upkeep ensures mechanical components operate smoothly‚ preventing wear and tear. Addressing issues early avoids costly overhauls and maintains the clock’s timekeeping accuracy. Authentic materials and techniques are essential to uphold the clock’s value and cultural heritage. Proper care extends the lifespan of intricate carvings and mechanical movements‚ ensuring these timepieces remain functional and visually appealing for generations. Regular maintenance also safeguards the clock’s role as a cherished decorative and historical piece.
Tools and Materials Needed for Cuckoo Clock Repair
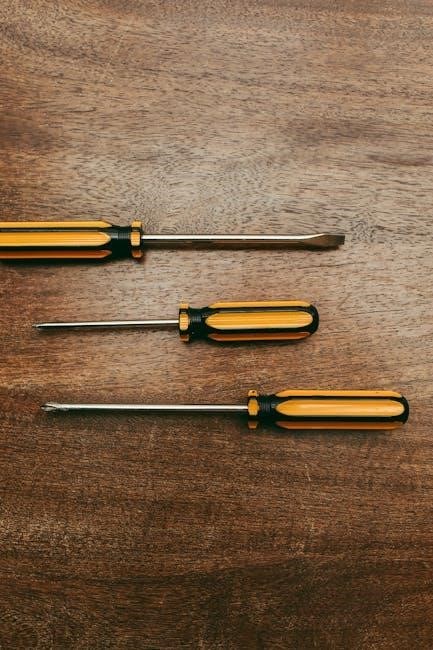
Essential tools include screwdrivers‚ gear pullers‚ and movement holders. Materials like lubricants‚ cleaning solutions‚ and replacement parts ensure proper restoration and functionality of the clock mechanism.
2.1 Essential Tools for Disassembling and Reassembling
For disassembling and reassembling‚ essential tools include precision screwdrivers‚ gear pullers‚ and movement holders. These tools help in carefully handling delicate components without causing damage. Additionally‚ a workbench with a soft surface protects the clock’s finish. Magnifying tools and tweezers are useful for intricate parts. Proper lubrication tools are also necessary to ensure smooth mechanical operation after reassembly. These tools are crucial for maintaining the clock’s integrity and functionality during the repair process.
2.2 Specialty Materials for Restoration and Lubrication
Specialty materials like high-quality wood oils and synthetic clock oils are essential for restoration and lubrication. These materials protect and preserve the clock’s mechanical and wooden components. Brass brushes and soft cloths are used for cleaning without damaging surfaces. Non-abrasive polishes restore the clock’s finish. Lubricants ensure smooth gear operation‚ while sealants protect against dust and moisture. These materials are crucial for maintaining the clock’s functionality and appearance‚ as detailed in repair manuals for optimal results.
Common Issues in Cuckoo Clocks
Common issues include mechanical failures‚ faulty bird mechanisms‚ and timekeeping inaccuracies. These problems are often addressed in repair manuals for effective troubleshooting and restoration of functionality.
3.1 Identifying Faulty Gears and Mechanical Failures
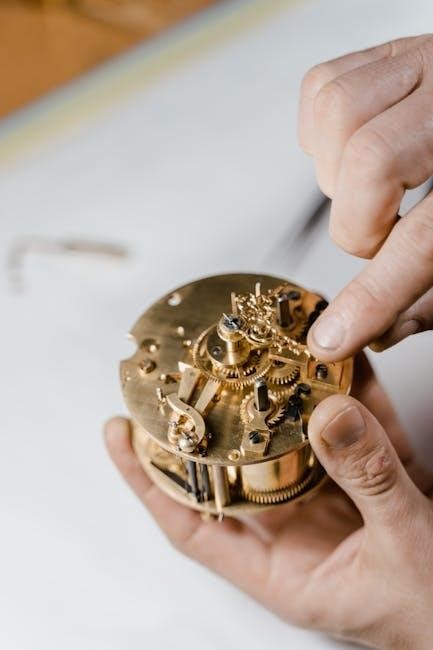
Cuckoo clocks often experience issues with their intricate gear systems‚ which can lead to mechanical failures. Common signs include unusual noises‚ resistance in movement‚ or gears slipping out of alignment. These problems can stem from wear and tear‚ improper lubrication‚ or accidental damage. Repair manuals emphasize the importance of inspecting gear trains thoroughly and using specialized tools to diagnose and replace faulty components. Proper identification and addressing of these issues are crucial to restore smooth operation and prevent further damage to the clock’s internal mechanisms.
3.2 Troubleshooting the Cuckoo Bird Mechanism
The cuckoo bird mechanism is a unique feature that can malfunction due to worn components or improper alignment. Common issues include the bird not emerging‚ a faint or absent cuckoo sound‚ or erratic movement. These problems often arise from dirt buildup‚ misaligned bellows‚ or damaged linkages. Repair manuals recommend inspecting the bird’s activation arm‚ cleaning the bellows‚ and ensuring proper synchronization with the clock’s strike train. Addressing these issues ensures the bird’s smooth operation and restores the clock’s charming auditory feature.
3.3 Addressing Timekeeping Inaccuracies
Timekeeping inaccuracies in cuckoo clocks often stem from mechanical issues within the movement. Common problems include an uneven tick-tock rhythm‚ slow or fast timekeeping‚ or the clock stopping altogether. These issues can arise from a dirty or worn gear train‚ improper mainspring tension‚ or a misaligned balance wheel. Cleaning the movement‚ adjusting the escapement‚ and ensuring proper lubrication are key steps to restore accurate timekeeping. Additionally‚ verifying the pendulum’s consistent swing and checking for worn bushings can help resolve these issues effectively.
Step-by-Step Repair Guide
A detailed manual outlines the process of disassembling‚ inspecting‚ and reassembling cuckoo clocks‚ ensuring precise restoration of mechanical and decorative components for optimal functionality and longevity.
4.1 Disassembling the Clock Safely
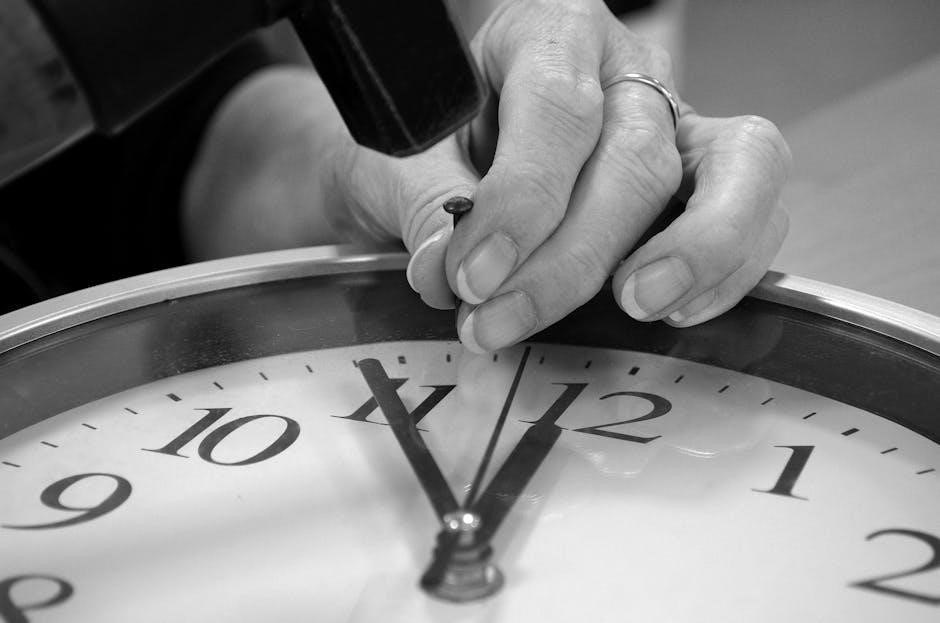
Begin by removing the weights and pendulum to prevent damage during disassembly. Use a screwdriver to carefully detach the back panel screws‚ ensuring not to force any parts. Gently lift the movement from the case‚ taking note of connected components like the bell and strike train.Disconnect the cuckoo bird mechanism to avoid damage to its linkage. Remove the hands and dial‚ using a hand puller for the hands to prevent bending. Document each step with photos or notes for easy reassembly later.
4.2 Cleaning and Lubricating Internal Components
Clean all internal components using a soft-bristle brush and mild soap solution to remove dirt and old lubricant. Rinse thoroughly with distilled water and dry with a lint-free cloth. Apply specialized horological lubricant to gear trains‚ pivot points‚ and bearings‚ ensuring minimal application to avoid excess oil. Lubricate the mainspring and escapement mechanism separately for optimal performance. Avoid touching cleaned parts with bare hands to prevent oil contamination. Finally‚ inspect and test the movement to ensure smooth operation before reassembly.
4.3 Replacing Damaged or Worn Parts
Inspect gears‚ bearings‚ and escapement components for wear or damage. Replace faulty parts with authentic Black Forest-crafted replacements to maintain precision. Carefully remove worn gears using specialized tools‚ ensuring no additional damage occurs. Install new components‚ aligning them precisely with the clock’s mechanical framework. Lubricate newly fitted parts and test the movement for smooth operation. Avoid over-tightening screws‚ as this may disrupt functionality. Replace the mainspring if it shows signs of weakness‚ ensuring proper tension for accurate timekeeping. Handle all parts with care to prevent scratching or misalignment.
4.4 Reassembling the Clock and Testing Its Functionality
Reassemble the clock by reversing the disassembly steps‚ ensuring all components align correctly. Use the repair manual as a guide to verify proper placement. Once reassembled‚ wind the clock and test its mechanical movement. Check the accuracy of timekeeping and the smooth operation of the cuckoo bird mechanism. Ensure all sounds and animations function as intended. Test the clock over 24 hours to confirm reliability and make any necessary adjustments.Finally‚ inspect the clock’s exterior for proper alignment and aesthetic appeal.
Maintenance Tips for Longevity
Regular cleaning‚ proper storage‚ and timely lubrication ensure optimal functionality. Inspect mechanical parts periodically to prevent wear and tear‚ maintaining the clock’s aesthetic and operational integrity over time.
5.1 Regular Cleaning and Inspection Routines
Regular cleaning and inspection are crucial for maintaining the longevity of cuckoo clocks. Dust accumulation can interfere with mechanical components‚ so gently wipe surfaces with a soft cloth. Inspect the bird‚ weights‚ and pendulum for damage or wear. Lubricate moving parts periodically to ensure smooth operation. Avoid harsh chemicals‚ as they may damage finishes; Professional servicing every 5-10 years is recommended for complex mechanisms. Routine checks help prevent issues‚ ensuring the clock’s continued functionality and aesthetic appeal over decades.
5.2 Proper Storage and Display Conditions
Proper storage and display are vital to preserve the integrity of cuckoo clocks. Keep them away from direct sunlight‚ moisture‚ and extreme temperatures. Store the clock in a protective case when not in use to prevent dust buildup. Avoid exposing the clock to harsh chemicals or cleaning products. For long-term storage‚ ensure the clock is clean and dry. Display the clock on a sturdy wall‚ ensuring it is level and secure. Regular cleaning and inspection routines should be maintained to uphold its aesthetic and functional value over time.
Advanced Repair Techniques
Mastering advanced repair techniques involves restoring intricate carvings‚ repairing complex mechanical movements‚ and refinishing wooden components to preserve the clock’s authenticity and functionality over time.
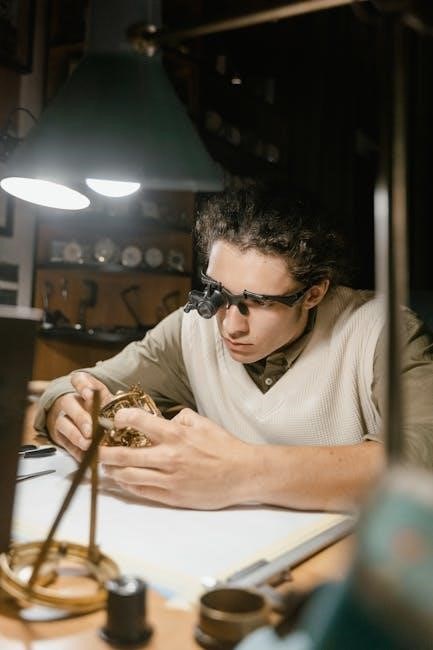
6.1 Repairing Complex Mechanical Movements
Repairing intricate mechanical movements requires precision and expertise. Cuckoo clock repair manuals often detail how to disassemble‚ clean‚ and reassemble gears‚ ensuring proper alignment and functionality. Lubrication plays a crucial role in maintaining smooth operation‚ while replacing worn components like pivots and bushings can restore accuracy. Advanced techniques may involve adjusting escapements and balance wheels‚ ensuring the clock’s timekeeping remains precise. Proper tools and a clean workspace are essential for successful repairs‚ as outlined in specialized guides.
6.2 Restoring Carved Wooden Components
Restoring carved wooden components involves gentle cleaning and refinishing to preserve intricate designs. Use soft brushes or mild detergents to remove grime without damaging details. For damaged areas‚ apply wood filler or carve replacements to match original patterns. Sanding and refinishing with appropriate varnishes or paints ensures a seamless blend. Protect the wood with sealants to prevent future damage. Always consult specialized guides to maintain authenticity and avoid harsh chemicals that could harm the wood or its finish.
Resources for Further Learning
Explore recommended PDF manuals and online forums for in-depth repair guidance. These resources offer detailed instructions and expert advice for mastering cuckoo clock restoration techniques effectively.
7.1 Recommended PDF Manuals and Guides
For comprehensive guidance‚ seek out PDF manuals from reputable sources like the Black Forest Clock Association. These documents offer detailed repair techniques‚ troubleshooting tips‚ and maintenance schedules. Many manuals include step-by-step instructions for disassembling and reassembling mechanisms‚ as well as tips for restoring wooden carvings. Additionally‚ some publishers provide printable guides with illustrations‚ making complex repairs more accessible. Online forums and horology communities often share these resources‚ ensuring you have the tools needed to master cuckoo clock repair effectively and confidently.
7.2 Online Communities and Expert Forums
Engaging with online communities and expert forums can significantly enhance your cuckoo clock repair skills. Websites like the Frankenmuth Clock & German Gift Co. forum and specialized horology groups offer valuable insights. Experts often share detailed repair guides and answer technical queries. These platforms are ideal for troubleshooting specific issues and learning from experienced horologists. Additionally‚ communities like Reddit’s clock repair subreddits provide real-time advice and shared experiences‚ making them indispensable resources for both beginners and seasoned enthusiasts. Active participation can lead to meaningful connections and skill improvement.
Safety Precautions
When repairing cuckoo clocks‚ wear protective gloves and eyewear. Ensure a stable workspace‚ and handle delicate parts with care to avoid damage or injury.
8.1 Handling Delicate Parts and Tools
When handling cuckoo clock components‚ use precision tools to avoid damaging gears or mechanisms. Always clean your workspace and hands to prevent grease or dirt from affecting parts. Store small components in a safe place to avoid loss. Wear gloves to prevent finger oils from tarnishing metal pieces and to ensure a firm grip‚ reducing the risk of accidental drops. Proper handling ensures the longevity and functionality of your clock during the repair process.
8.2 Avoiding Common Mistakes During Repair
Avoiding common mistakes is crucial for successful cuckoo clock repair; Over-tightening screws or improperly aligning gears can cause irreversible damage. Using the wrong lubricants may attract dust‚ leading to mechanical failure. Always refer to the repair manual for specific instructions. Never force parts together‚ as this can bend or break components. Ensure all springs are properly wound and test the clock thoroughly after reassembly. Following these guidelines helps prevent costly errors and ensures your clock functions accurately and reliably for years to come.
Case Studies and Success Stories
A rare 100-year-old cuckoo clock was restored to its original charm using a detailed repair manual. The process highlighted the importance of precision and traditional craftsmanship techniques;
9.1 Examples of Successful Cuckoo Clock Restorations
A rare 19th-century Black Forest cuckoo clock was meticulously restored using a detailed repair manual. The process involved rebuilding the mechanical movement and refinishing the wooden carvings. Another success story includes a family heirloom cuckoo clock that had been silent for decades‚ brought back to life by following step-by-step repair guides. These examples highlight the importance of precision and adherence to traditional techniques in achieving successful restorations.