Discover the simplicity and versatility of AeroPress, a manual brewing method perfect for coffee enthusiasts of all levels. This guide provides step-by-step instructions to help you master the art of brewing with AeroPress, from basic techniques to advanced recipes.
What is AeroPress and Why It’s Popular
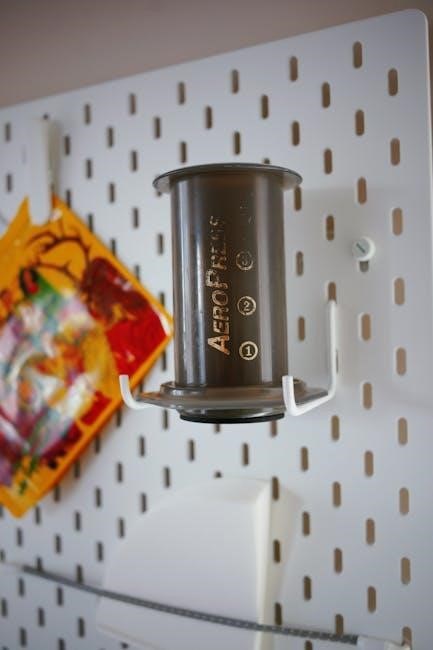
The AeroPress is a popular, portable coffee maker known for its durability and ease of use. Made of lightweight, BPA-free plastic, it’s ideal for both home and travel. Its unique design allows for a variety of brewing methods, making it versatile for beginners and coffee enthusiasts alike. The AeroPress is praised for its ability to produce smooth, full-bodied coffee with minimal effort, and its compact size makes it a favorite among coffee lovers worldwide.
Overview of the Brewing Process
The AeroPress brewing process is straightforward and time-efficient, typically taking just 2-3 minutes. It involves measuring and grinding coffee, prepping the AeroPress with a filter, adding grounds, and pouring hot water. After stirring, the plunger is slowly pressed to extract the coffee into a smooth, full-bodied brew. This method allows for a clean extraction with minimal bitterness, making it ideal for both hot and cold coffee drinks. Its simplicity and quick results have made it a favorite among coffee enthusiasts worldwide.
Materials and Equipment Needed
- AeroPress chamber and plunger
- Filter cap and paper filters
- Kettle for heating water
- Coffee beans
- Coffee grinder
- Scale for measuring
- Stirring spoon
Essential Items for Brewing with AeroPress
To brew with AeroPress, you’ll need a few key items:
- AeroPress chamber and plunger: The core components for brewing.
- Filter cap and paper filters: Ensure clean extraction and prevent grounds in your coffee.
- Kettle: For heating water to the ideal temperature.
- Coffee beans: Freshly roasted for optimal flavor.
- Coffee grinder: To grind beans to the right consistency.
- Scale: For precise measuring of coffee and water.
- Stirring spoon: To mix coffee and water evenly.
These tools ensure a smooth and delicious brewing experience.
Understanding AeroPress Parts and Accessories
The AeroPress consists of the chamber, plunger, filter cap, and paper filters. The chamber holds coffee and water, while the plunger extracts the brew. The filter cap with paper filters ensures clean coffee. Accessories like the stirrer and tote bag enhance convenience. Each part is durable and dishwasher-safe, making maintenance easy. Understanding these components helps you use the AeroPress effectively and brew perfect coffee every time. Familiarity with its design allows for seamless brewing and experimentation with various methods.

Basic Brewing Steps
The AeroPress brewing process involves measuring coffee, grinding beans, prepping the device, adding grounds, pouring water, stirring, and plunging to create a perfect cup every time.
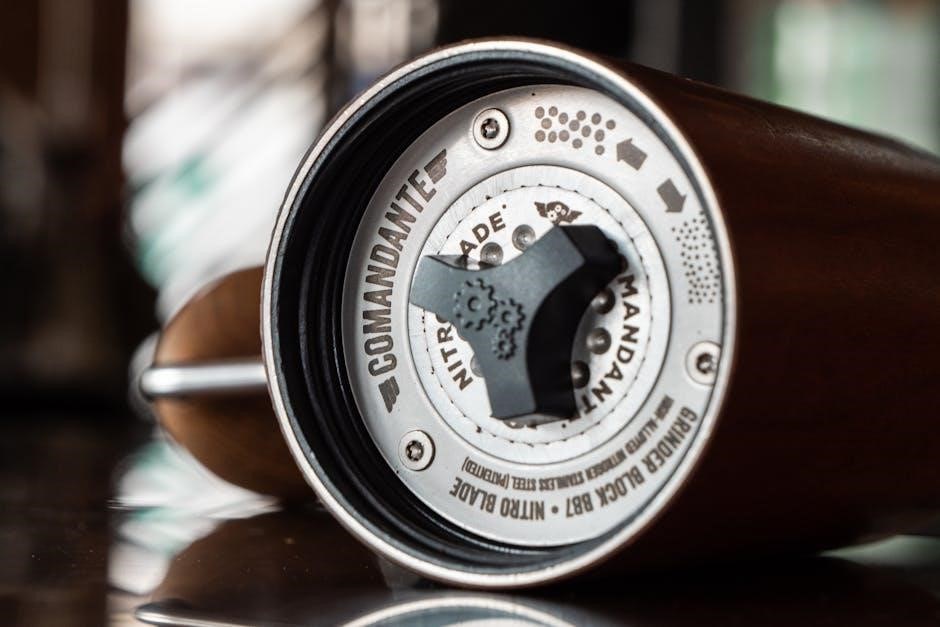
Step 1: Measure and Grind Your Coffee
Start by measuring 15-18 grams of coffee for a standard AeroPress recipe. Grind the beans to a medium-fine consistency, similar to table salt. Use freshly roasted beans for optimal flavor. Ensure the grind is even to allow proper extraction during brewing. This step sets the foundation for a balanced and flavorful cup of coffee.
Step 2: Prep the AeroPress and Filter
Rinse the paper filter with hot water to remove any paper taste and preheat the AeroPress. Place the filter into the cap and ensure it’s securely attached. Position the AeroPress chamber over your cup, ready for the next steps. This preparation ensures a smooth brewing process and prevents any unwanted flavors in your coffee.
Step 3: Add Coffee Grounds
Pour the measured coffee grounds into the prepped AeroPress chamber. Ensure the grounds are evenly spread across the bottom for consistent extraction. Avoid overfilling, as this can lead to clogging during the plunge. Use the level markers on the AeroPress or a digital scale for precise measurements, typically around 17-20 grams for a standard cup. This step sets the foundation for achieving the perfect balance in your brew.
Step 4: Add Water and Stir
Pour heated water (around 205°F) over the coffee grounds in the AeroPress chamber. Use approximately 210g of water for 18g of coffee. Stir thoroughly for about 10 seconds to ensure all grounds are saturated. Allow the mixture to steep for 1-2 minutes, depending on your desired strength. The even distribution of water ensures proper extraction, leading to a balanced and flavorful brew. This step is crucial for achieving the optimal flavor profile in your AeroPress coffee.
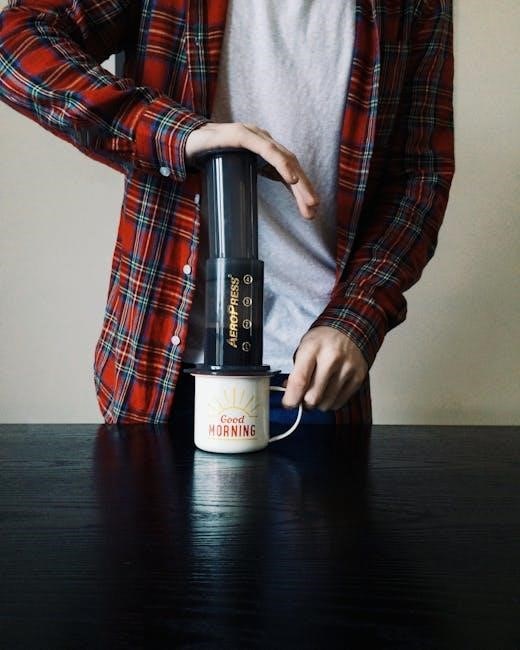
Step 5: Plunge and Serve
Slowly press the plunger down with steady, gentle pressure. Aim for a plunging time of about 20-30 seconds until you hear a faint hiss, indicating air reaching the grounds. Stop just before it becomes too resistance. Pour the freshly brewed coffee immediately into your cup. For a cleaner extraction, avoid pressing too hard, as it can introduce bitterness. Serve and enjoy your perfectly balanced AeroPress coffee, optionally customizing with milk, sugar, or other preferred additions to suit your taste preferences.
Advanced Brewing Techniques
Elevate your brewing skills with techniques like the inverted method, adjusting grind size, and water temperature to achieve a perfect balance of flavor and customization in your AeroPress coffee.
The Inverted AeroPress Method
The inverted method involves brewing with the plunger removed, allowing coffee grounds to steep evenly. Add grounds, pour water, stir, then attach the plunger and gently press. This technique offers better control over extraction time, resulting in a smoother, fuller-bodied coffee. It’s ideal for experimenting with flavors and achieving a more nuanced cup. Popular among enthusiasts, it’s a simple yet effective variation to explore for those seeking a richer coffee experience.
Adjusting Grind Size and Water Temperature
Grind size and water temperature significantly impact AeroPress brewing. A medium-fine grind (around 4 on a 1-10 scale) is ideal for balanced extraction. Water temperature should be around 205°F for optimal flavor. Adjusting these variables allows you to tailor the coffee to your taste preferences, ensuring a perfect cup every time. Experimentation with these settings can enhance the overall brewing experience and bring out the best in your coffee beans.
Tips for the Perfect Cup
Mastering AeroPress requires attention to detail. Use filtered water, monitor temperature, and adjust ratios. Experiment with grind sizes and brewing times to enhance flavor and aroma consistency.
Optimizing Coffee-to-Water Ratios
Achieving the perfect balance between coffee and water is crucial for a delicious brew. Start with a 1:15 to 1:17 ratio, adjusting to suit your taste. For instance, 18g of coffee pairs well with 210g of water, allowing optimal extraction. Experiment with ratios to find your ideal flavor profile, ensuring each sip is tailored to your preference. This balance ensures a smooth, rich cup every time.
Cleaning and Maintenance Tips
Regular cleaning ensures your AeroPress continues to perform optimally. After each use, rinse the chambers and plunger with warm water. For deeper cleaning, wash with mild soap and avoid abrasive materials. Dry thoroughly to prevent water spots or mold. Check for wear and tear on seals and replace as needed. Cleaning regularly enhances flavor and longevity, ensuring every brew remains fresh and flavorful.
Beginner vs. Advanced Recipes
Explore tailored brewing guides for both newcomers and experienced users, offering simplicity for beginners and complexity for those seeking customization and precision in their AeroPress experience.
Simple Recipes for Beginners
Start your AeroPress journey with easy, approachable recipes. For a classic brew, use 15-18g of medium-grind coffee and 200-210g of water at 205°F. Add coffee to the chamber, pour water, stir gently, and plunge after 1-2 minutes. This method delivers a smooth, full-bodied cup. For a quicker option, try the inverted method with a coarser grind and shorter steep time. These recipes are ideal for newcomers, providing a foundation to experiment as you gain confidence.
Experimenting with Advanced Recipes
Once you’ve mastered the basics, explore advanced techniques to elevate your AeroPress game. Try the inverted method for a brighter, cleaner cup, or adjust grind size and water temperature to suit your taste. For a richer brew, use a 1:3 to 1:5 coffee-to-water ratio and extend the steep time. Stirring techniques, like pulsing or circular motions, can enhance extraction. Experiment with pre-infusion or layering water for complexity. These methods allow you to tailor every sip to your palate, unlocking the full potential of your AeroPress.
Troubleshooting Common Issues
Address common issues like under-extraction by adjusting grind size or temperature. For leaks, replace worn seals. Plunger issues? Clean or replace parts as needed.
Addressing Under-Extraction or Over-Extraction
Under-extraction can result from insufficient contact time or a coarse grind, leading to weak coffee. Over-extraction occurs with too much contact time or a fine grind, causing bitterness. Adjust brew time, grind size, or water temperature to balance extraction. For under-extracted coffee, try a finer grind or longer steep. For over-extracted coffee, use a coarser grind or shorter steep. Experiment to find the perfect balance for your taste preferences.
Fixing Leaks or Plunger Issues
Leaks or plunger issues with the AeroPress can often be resolved with proper maintenance and inspection. Check the rubber seal for wear or damage and ensure it’s clean and dry. Align the plunger correctly within the chamber and avoid pressing too forcefully. If leaks persist, consider replacing the seal or filter cap. Regular cleaning and drying after use can prevent mold and ensure optimal performance. Addressing these issues promptly will extend the life of your AeroPress and maintain the quality of your brew.
The AeroPress is a durable and effective coffee maker that offers endless possibilities for brewing. With proper care and experimentation, it continues to delight coffee enthusiasts worldwide. Its simplicity and versatility make it a favorite for both beginners and advanced users. By exploring different recipes and techniques, you can tailor your coffee experience to your preferences. Keep experimenting and enjoying the perfect cup with your AeroPress!
Final Thoughts and Encouragement to Experiment
Your AeroPress journey is just beginning! With its versatility, you can explore countless brewing techniques, from the classic method to inverted brewing. Adjust grind sizes, water temperatures, and ratios to find your perfect cup. Don’t hesitate to experiment—each brew is an opportunity to discover new flavors. Join the AeroPress community to share recipes and inspire others. Keep pushing the boundaries of what your AeroPress can do, and enjoy the endless possibilities it offers for coffee lovers of all levels.