This manual provides a step-by-step guide for installing the Honeywell RTH9585WF smart thermostat, designed for DIYers and professionals. It ensures safe and efficient installation, covering all necessary preparations and configurations.
1.1 Overview of the RTH9585WF Thermostat
The Honeywell RTH9585WF is a Wi-Fi-enabled, programmable thermostat with a color touchscreen interface. It belongs to Honeywell’s Smart Series, offering advanced home comfort control. Designed for compatibility with various HVAC systems, including forced air, hydronic, and heat pumps, this thermostat provides precise temperature management. Its intuitive interface allows for easy scheduling and energy-saving features. The RTH9585WF supports smart home integrations and remote access via the Honeywell Home app, making it a versatile and modern solution for home climate control. It is ideal for homeowners seeking convenience and efficiency.
1.2 Importance of Proper Installation
Proper installation of the RTH9585WF thermostat is crucial for ensuring optimal performance, safety, and energy efficiency. Incorrect wiring or setup can lead to system malfunctions, increased energy bills, or even damage to the device. Following the installation manual carefully ensures compatibility with your HVAC system and guarantees the thermostat operates as intended. Proper installation also avoids potential safety hazards, such as electrical issues or improper heating/cooling cycles. Adhering to the guidelines ensures a smooth user experience and maintains the product’s warranty. Always follow the step-by-step instructions provided in the manual to achieve a reliable and efficient setup.

System Requirements and Compatibility
The Honeywell RTH9585WF is compatible with 24V systems, including forced air, hydronic, heat pumps, oil, gas, and electric systems, but not millivolt systems.
2.1 Compatible HVAC Systems (Forced Air, Hydronic, Heat Pump, etc.)
The Honeywell RTH9585WF is designed to work with various HVAC systems, including forced air, hydronic, heat pump, oil, gas, and electric systems. It is compatible with 24V systems but is not suitable for millivolt systems. This versatility makes it a suitable choice for a wide range of heating and cooling configurations. Proper system compatibility ensures optimal performance and efficient temperature control. Always verify your HVAC system type before installation to guarantee seamless functionality.
2.2 Voltage and Wiring Requirements
The Honeywell RTH9585WF operates on 24V systems and requires a C wire for consistent power supply. Ensure your HVAC system is compatible with 24V wiring and does not use millivolt systems. If a C wire is missing, additional wiring may be needed. Always refer to your HVAC system’s manual for specific wiring configurations. Proper wiring ensures safe and reliable operation of the thermostat. If unsure, consult a licensed electrician to avoid installation errors. Correct wiring is crucial for optimal performance and functionality.

Pre-Installation Preparation
Before installing the Honeywell RTH9585WF, gather necessary tools like a screwdriver and pen. Ensure your system has a C wire for proper power supply. This preparation ensures a smooth installation process.
3.1 Tools and Materials Needed
To install the Honeywell RTH9585WF, you’ll need a small screwdriver for wiring connections, a pen for labeling wires, and the thermostat ID card for registration. Ensure you have a C wire for power, as it is essential for proper operation. If your system lacks a C wire, consult your HVAC manual or contact a professional. Gather all supplied materials, including sticky labels for wire identification, to ensure a smooth installation process. Prepare these tools and materials beforehand to avoid delays.
3.2 Labeling Wires for Safe Disconnection
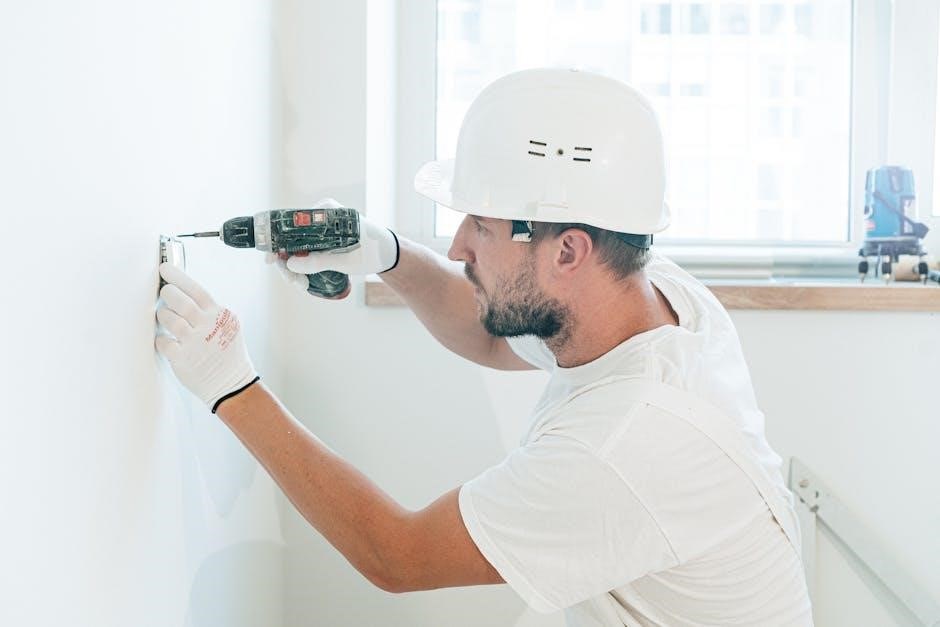
Before disconnecting your old thermostat, label each wire to ensure proper reconnection. Use the supplied sticky tags to mark wires according to their terminal designations (e.g., R, W, Y, G, C). This step is critical for avoiding confusion during installation. Turn off your HVAC system at the circuit breaker before starting. Labeling ensures that each wire is correctly connected to the new thermostat, preventing potential damage or safety hazards. If unsure about wire designations, refer to your old thermostat or consult a professional. Proper labeling is key to a safe and successful installation.
Installation Steps
Mount the new thermostat, ensuring it is level and securely fastened. Connect the labeled wires to the corresponding terminals on the RTH9585WF. Refer to the manual for diagrams and specific wiring instructions to ensure proper connections. Once all wires are connected, restore power and test the system to confirm functionality. If issues arise, consult the troubleshooting section or contact Honeywell support for assistance.
4.1 Disconnecting the Old Thermostat
Before disconnecting the old thermostat, turn off the power to the HVAC system at the circuit breaker or fuse box. Remove the thermostat from the wall by gently pulling it away. Carefully disconnect the wires from the old thermostat terminals, taking note of their colors and labels. Use the provided sticky tags to label each wire according to its function. If the old thermostat contains mercury, handle it with care and refer to the disposal instructions in the manual. Once all wires are disconnected, the old thermostat can be safely removed. This step ensures a smooth transition to installing the new RTH9585WF thermostat. Always follow safety guidelines to avoid damage or electrical hazards.
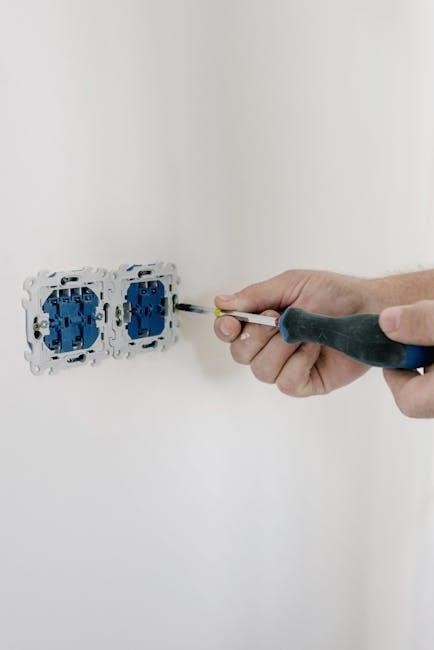
4.2 Mounting and Connecting the New Thermostat
Mount the new RTH9585WF thermostat by attaching the wall plate to the existing wiring box using the provided screws. Ensure the plate is level for proper installation. Connect the labeled wires to the corresponding terminals on the new thermostat, matching the labels created during disconnection. If your system lacks a C wire, refer to the manual for alternative solutions. Once all wires are securely connected, attach the thermostat to the wall plate. Turn the power back on at the circuit breaker and test the thermostat to ensure proper functionality. Follow the on-screen instructions to complete the setup, ensuring all connections are correct and the system operates smoothly. Always refer to the manual for specific wiring configurations and safety guidelines.
Initial Setup and Configuration
After installation, power on the thermostat and follow on-screen instructions to connect to your Wi-Fi network. Register the device and install any available software updates. Configure scheduling, temperature preferences, and system settings to optimize performance and energy efficiency.
5.1 Wi-Fi Network Connection
To connect your Honeywell RTH9585WF thermostat to your Wi-Fi network, navigate to the settings menu on the touchscreen display. Select the Wi-Fi Setup option and choose your network from the available list. Enter your network password when prompted. If the connection fails, ensure your router is nearby and the network name and password are correct. Restarting your router may resolve connectivity issues. Once connected, the thermostat will confirm the connection and proceed to register the device. A stable internet connection is essential for remote access and software updates.
5.2 Thermostat Registration and Software Updates
After connecting to Wi-Fi, register your RTH9585WF thermostat by creating or logging into your Honeywell Home account. This step is essential for remote access and advanced features. Once registered, the thermostat will automatically check for software updates. Ensure your device is connected to the internet to download and install the latest updates. These updates improve performance, security, and functionality. You can also manually check for updates in the settings menu under “About Thermostat” or “Software Update.” Regular updates ensure optimal operation and compatibility with your HVAC system.
Troubleshooting Common Issues
Check Wi-Fi connectivity, wiring connections, and ensure compatibility with your HVAC system. Refer to the user manual or contact Honeywell support for unresolved issues.
6.1 Resolving Wi-Fi Connectivity Problems
Ensure your thermostat is connected to your home Wi-Fi network. Restart the device and check your network password. Access the Wi-Fi Setup option in the settings menu to reconnect. If issues persist, reset the thermostat to factory settings. Verify your router is functioning properly and within range. Consult the user manual or Honeywell support for advanced troubleshooting steps. Ensure firmware is updated for optimal performance.
6.2 Addressing Compatibility and Wiring Issues
Ensure the thermostat is compatible with your HVAC system, such as forced air, hydronic, or heat pump systems. Verify wiring connections match the terminal labels. If no C wire is present, consider using a C-wire adapter. Check for loose connections and ensure proper voltage (24VAC). Consult the user manual for wiring diagrams; If issues persist, contact Honeywell support or a licensed technician. Ensure the system type is correctly configured in the thermostat settings to avoid operational errors.

Safety Precautions and Disposal
Handle old thermostats containing mercury with care. Follow local regulations for proper disposal. Recycle or dispose of mercury thermostats responsibly to minimize environmental impact.
7.1 Handling Mercury Thermostats
When replacing an older thermostat containing mercury, handle it with care to avoid breakage. Wear gloves and work in a well-ventilated area. If the mercury tube breaks, contain the spill immediately using a damp cloth. Avoid using a vacuum cleaner, as it may spread the mercury. Place the broken thermostat in a sealed container and dispose of it according to local regulations. Mercury is toxic and requires special handling to prevent environmental contamination. Proper disposal ensures safety and compliance with environmental laws.
7.2 Proper Disposal of Old Thermostats
Dispose of old thermostats responsibly, especially those containing mercury, to prevent environmental harm. Check local regulations for hazardous waste disposal options. Many communities offer designated facilities for such items. If your old thermostat contains mercury, ensure it is handled as hazardous waste. Do not dispose of it in regular trash. Consider participating in manufacturer or retailer take-back programs. Refer to the user manual for specific disposal instructions, such as those found on page ii. Proper disposal protects the environment and complies with local laws.
Additional Resources and Support
Visit Honeywell’s official website for comprehensive guides, troubleshooting tips, and customer support. Access user manuals, installation guides, and additional resources at HoneywellHome.com/support.
8.1 Accessing the User Manual and Guides
The Honeywell RTH9585WF installation manual, user guide, and quick start guide are available for download on Honeywell’s official website. Visit HoneywellHome.com/support to access these resources. The manuals provide detailed instructions for installation, configuration, and troubleshooting. Additionally, video tutorials and troubleshooting tips can be found on the website. For further assistance, Honeywell’s customer support team is available to address any questions or concerns. Ensure to refer to the official guides for accurate and safe installation of your thermostat.
8.2 Contacting Honeywell Customer Support
Honeywell offers comprehensive customer support to assist with installation, troubleshooting, and maintenance of the RTH9585WF thermostat. Visit the official Honeywell website at https://yourhome.honeywell.com/ for support resources. You can also contact Honeywell’s customer support team directly through their website or by phone for personalized assistance. Additionally, the website provides access to FAQs, troubleshooting guides, and software updates to ensure optimal performance of your thermostat. Reach out to Honeywell’s support team for any queries or concerns regarding your RTH9585WF thermostat.