GE 6000 BTU Air Conditioner Manual: A Comprehensive Guide
This manual provides essential guidance for GE 6000 BTU air conditioners, covering installation, operation, maintenance, and troubleshooting․
It ensures safe and efficient use of your appliance, referencing models like ASH06LL and AHEE06AC․
Welcome to the comprehensive guide for your GE 6000 BTU air conditioner! This appliance is designed to provide efficient and reliable cooling for smaller spaces․
Whether you have the ASH06LL, ASR05, ARH06, ASR06, or ASR05LLS1 model, this manual will equip you with the knowledge to maximize its performance and longevity․
This air conditioner is an electronic window unit, offering features like adjustable temperature and fan speed settings․
Understanding its operation is crucial for comfortable and cost-effective cooling․ This manual details everything from initial setup and installation to routine maintenance and troubleshooting common issues, like iced cooling coils or remote control battery replacement․
GE Appliances prioritizes user safety, so please carefully review the safety precautions outlined within this guide before operating your unit․
Proper installation, as detailed for double-hung windows, is vital for optimal performance․ This manual is your resource for enjoying cool comfort with your GE 6000 BTU air conditioner․
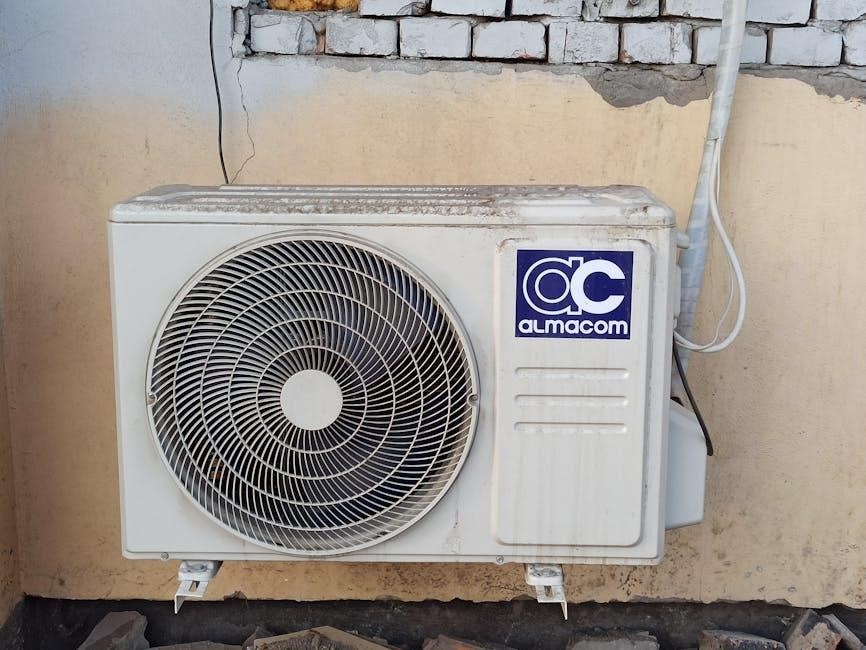
Model and Serial Number Identification
Locating your GE 6000 BTU air conditioner’s model and serial number is essential for warranty claims, service requests, and obtaining accurate replacement parts․ These numbers uniquely identify your specific unit, allowing GE and authorized servicers to provide tailored support․
The model number, such as ASH06LL, AHEE06AC, ASR05, ARH06, ASR06, or ASR05LLS1, indicates the specific features and specifications of your air conditioner․ The serial number provides manufacturing details and the date of production․
Where to find these numbers: Typically, a label containing both the model and serial number is affixed to the unit itself․
Common locations include the side panel, the rear of the unit, or near the cooling coils․
Carefully inspect these areas․ Record these numbers in a safe place for future reference․ Having this information readily available will streamline any service or warranty-related processes․
Safety Precautions
Prioritizing safety is crucial when installing and operating your GE 6000 BTU air conditioner․ Always disconnect the unit from the power source before performing any maintenance or cleaning․ Never operate the air conditioner with a damaged power cord or plug․
Ensure the air conditioner is securely installed in a window according to the provided installation instructions․ Improper installation can create a safety hazard․ Avoid obstructing the airflow around the unit, as this can cause overheating․
Important: Do not insert any objects through the air vents․ Keep children and pets away from the unit during operation․ If the cooling coils ice up, immediately turn off the unit and address the issue as outlined in the troubleshooting section․ Follow all provided safety information to minimize the risk of injury or damage․
Package Contents & Initial Inspection
Upon receiving your GE 6000 BTU air conditioner, carefully inspect the package for any signs of damage during shipping․ Verify that all components listed in the included documentation are present․ Typically, this includes the air conditioner unit itself, an installation kit (window brackets, screws, foam seals), and the remote control․
Before installation, thoroughly examine the air conditioner for any visible defects, such as dents or broken parts․ Ensure the vent is in the closed position; If any damage or missing components are discovered, immediately contact the retailer or GE Appliances customer support․
Retain all packaging materials and the owner’s manual for future reference․ Proper initial inspection ensures a smooth installation process and helps protect your investment․ Document any issues immediately for warranty claims․

Installation Instructions
Proper installation is crucial for optimal performance․ These instructions detail the process for standard double-hung windows, requiring potential modifications for other window types․
Window Requirements for Proper Installation
Ensuring your window meets specific requirements is vital for the effective operation of your GE 6000 BTU air conditioner․ These units are primarily designed for standard double-hung windows, but adaptations may be necessary for other window styles․ The window opening must accommodate the air conditioner’s dimensions, allowing for proper ventilation and preventing airflow obstruction․
Specifically, the window should be at least 23 inches wide and 13 inches high to comfortably house the unit․ It’s crucial to verify the window sill’s strength and stability, as the air conditioner’s weight will be supported by it․ Any weak or damaged sills should be reinforced before installation․
Furthermore, the window must be relatively square and level to ensure a secure and airtight fit․ Gaps around the air conditioner can reduce cooling efficiency and allow outside air to enter․ Refer to the detailed diagrams in the full installation instructions for precise measurements and guidance․ Always prioritize a secure and properly sealed installation for optimal performance and energy savings․
Installation Steps for Double-Hung Windows
Installing your GE 6000 BTU air conditioner in a double-hung window requires careful attention to detail․ Begin by lowering the upper sash and raising the lower sash․ Next, extend the side panels of the air conditioner outward to fit snugly within the window opening, ensuring they are level and secure․
The included mounting brackets should then be attached to the window frame using the provided screws․ Confirm the brackets are firmly fastened before proceeding․ Carefully lift the air conditioner and place it onto the brackets, ensuring it’s properly supported․
Next, tilt the front of the unit slightly downward to allow for condensate drainage․ Secure the unit with additional screws or locking mechanisms as specified in the manual․ Finally, install the foam weather stripping around the perimeter to create an airtight seal, minimizing energy loss and maximizing cooling efficiency․ Double-check all connections for stability before operation․
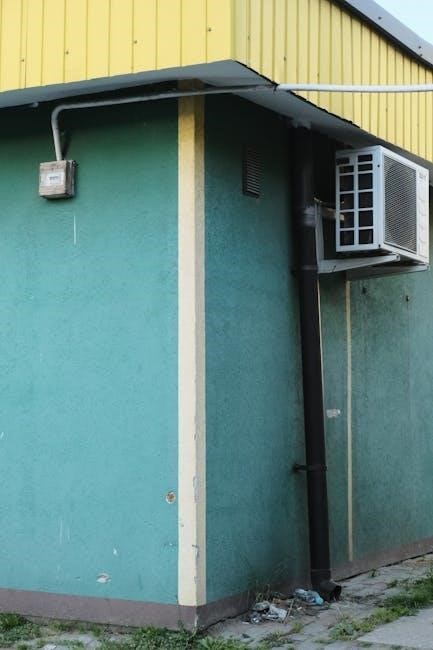
Air Conditioner Vent Positioning
Proper vent positioning is crucial for optimal performance of your GE 6000 BTU air conditioner․ Before installation, ensure the air conditioner’s vent is in the closed position, as noted in the manual․ This prevents debris from entering during handling and setup․
Once installed, the vent should be directed outwards to expel warm air effectively․ Avoid obstructions in front of the vent, such as curtains or furniture, as these can restrict airflow and reduce cooling efficiency․
The vent’s angle doesn’t typically require adjustment, as the unit is designed for standard window configurations․ However, confirm that the vent isn’t directly facing neighboring windows or areas where the expelled air might cause discomfort․ Regularly inspect the vent for any blockages, ensuring unobstructed operation for consistent cooling performance․

Operating Your Air Conditioner
This section details how to effectively use your GE 6000 BTU air conditioner, including control panel functions, cooling modes, and temperature adjustments for optimal comfort․
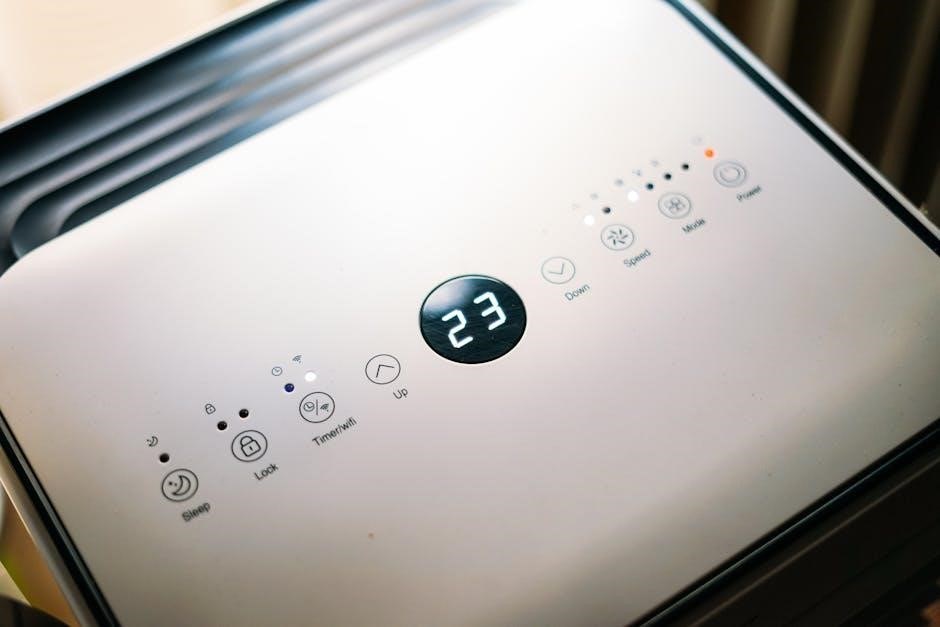
Control Panel Overview & Functions
The control panel on your GE 6000 BTU air conditioner is designed for intuitive operation․ Typically, you’ll find power buttons for turning the unit on and off, alongside mode selection options like Cool, Fan, and potentially Auto․ Temperature adjustment buttons, often marked with up and down arrows, allow precise control over your desired room temperature․
Fan speed settings – Low, Medium, and High – are usually accessible via dedicated buttons, enabling you to customize airflow․ A timer function may be present, allowing you to schedule operation for convenience and energy savings․ Some models feature a sleep mode, which gradually increases the temperature overnight for comfortable sleep․
Digital displays clearly show the set temperature and selected mode․ Understanding these functions is key to maximizing the efficiency and comfort provided by your GE air conditioner․ Refer to your specific model’s diagram within the owner’s manual for precise button locations and functionalities․
Cooling Mode Operation
To activate Cooling Mode on your GE 6000 BTU air conditioner, press the “Cool” button on the control panel․ Subsequently, use the temperature adjustment buttons to select your desired room temperature․ The unit will then begin to cool the air, automatically adjusting its operation to maintain the set temperature․
Ensure the air filter is clean for optimal cooling performance; a dirty filter restricts airflow and reduces efficiency․ Select your preferred fan speed – Low, Medium, or High – to control the rate of air circulation․ The compressor will cycle on and off as needed to maintain the set temperature, contributing to energy conservation․
Monitor for iced cooling coils, which can occur in humid conditions; if detected, switch to Fan-Only mode to defrost․ Proper cooling mode operation ensures comfortable and efficient climate control within your space, as detailed in the owner’s manual․
Fan-Only Mode Operation
To operate your GE 6000 BTU air conditioner in Fan-Only Mode, simply press the designated “Fan” button on the control panel․ This mode circulates air within the room without activating the cooling compressor, providing ventilation without reducing the room temperature․
Select your desired fan speed – Low, Medium, or High – to adjust the airflow intensity․ Fan-Only Mode is ideal for days when cooling isn’t necessary but air circulation is desired, or for supplementing existing heating systems to distribute warm air more evenly․
This mode also helps to dehumidify the room slightly by promoting air movement․ Utilizing Fan-Only Mode can conserve energy compared to continuous cooling operation․ Refer to the owner’s manual for specific instructions related to your model, such as ASH06LL or AHEE06AC, to ensure optimal performance․

Temperature and Fan Speed Settings
Your GE 6000 BTU air conditioner offers precise control over room temperature and airflow․ The “Temp” or “Temperature” buttons allow you to set your desired cooling temperature, typically ranging from 60°F to 80°F (16°C to 27°C)․ Adjust the temperature in increments to achieve optimal comfort․
Fan speed is adjustable with the “Fan Speed” button, offering Low, Medium, and High settings․ Lower speeds provide quieter operation and gentle airflow, while higher speeds maximize cooling and circulation․ Experiment to find the balance that suits your preferences․
Remember that a lower temperature setting will cause the unit to work harder and consume more energy․ Utilize the Auto Cool feature, if available, for efficient operation․ Consult your model’s manual (e․g․, ASH06LL, AHEE06AC) for specific details regarding temperature range and fan speed options․
Maintenance & Troubleshooting
Regular maintenance ensures optimal performance․ This section details cleaning filters, addressing iced coils, battery replacement, and common issues for your GE 6000 BTU unit․
Cleaning the Air Filter
Maintaining a clean air filter is crucial for efficient operation and air quality․ A dirty filter restricts airflow, reducing cooling performance and potentially causing the cooling coils to ice up․ It’s recommended to check the filter at least once a month, or more frequently if the unit is used heavily or in a dusty environment․
To clean the filter: First, always disconnect the air conditioner from the power source․ Locate the filter, typically behind the front grille․ Gently slide the filter out․ You can wash the filter with mild soap and water, rinsing thoroughly․ Allow the filter to completely dry before reinstalling it․ Alternatively, a vacuum cleaner with a brush attachment can be used to remove dust and debris․
Important Note: Do not operate the air conditioner without a filter installed, as this can damage the unit․ A clean filter contributes to energy savings and prolongs the lifespan of your GE 6000 BTU air conditioner․
Addressing Iced Cooling Coils
If you notice reduced airflow or the air conditioner isn’t cooling effectively, iced cooling coils may be the issue․ This typically happens when airflow is restricted, often due to a dirty air filter, blocked vents, or low refrigerant levels․ Immediately turn off the air conditioner to allow the ice to melt․
To resolve this: First, disconnect the unit from power․ Remove and clean or replace the air filter – a clogged filter is a common cause․ Ensure all vents are unobstructed, both inside the room and on the exterior of the unit․ Allow several hours for the ice to thaw completely․
If the problem persists after these steps, it may indicate a more serious issue, such as a refrigerant leak․ Do not attempt to repair this yourself; contact a qualified GE Authorized Servicer for assistance․ Operating the unit with iced coils can cause further damage․
Battery Replacement (Remote Control)
To maintain full functionality of your GE 6000 BTU air conditioner’s remote control, periodic battery replacement is necessary․ If the remote becomes unresponsive or the display is dim, it’s likely time for new batteries;
Follow these steps for replacement: Locate the battery compartment on the back of the remote control․ Gently slide or lift the compartment cover to access the battery slot․ Remove the old batteries, noting the correct polarity (+ and -) as indicated inside the compartment․
Insert new batteries of the correct type (typically AAA or AA – check your remote) ensuring proper alignment with the polarity markings․ Replace the battery compartment cover securely․ Test the remote to confirm it’s functioning correctly․ Dispose of used batteries responsibly according to local regulations․
Warranty Information & Service
Your GE 6000 BTU air conditioner is covered by a limited warranty, protecting against manufacturing defects in materials and workmanship․ This warranty extends to the original purchaser and any subsequent owner, provided the product is used for home purposes within the United States and Canada․

The warranty period varies depending on the specific model and components․ Typically, coverage lasts for one year from the date of original purchase for parts and labor․ To obtain warranty service, contact a GE Authorized Servicer․ Do not attempt to repair the unit yourself, as this may void the warranty․
Keep your proof of purchase (receipt or invoice) as proof of the purchase date․ For detailed warranty terms and conditions, or to locate an authorized servicer near you, please refer to the complete warranty statement included with your product or visit the GE Appliances website․
Common Troubleshooting Issues
If your GE 6000 BTU air conditioner isn’t cooling effectively, first check the air filter – a dirty filter restricts airflow and reduces efficiency․ Iced cooling coils are another common issue; turn off the unit and allow the ice to melt before resuming operation․ Ensure the vent is closed during cooling mode․
If the remote control isn’t working, replace the batteries․ For units that won’t start, verify the power cord is securely plugged into a functioning outlet․ If the unit is making unusual noises, it may indicate a loose component – contact a qualified technician․
Always disconnect power before performing any troubleshooting steps․ Refer to the full manual for more detailed guidance and safety precautions․ If problems persist, contact GE Authorized Service for professional assistance․